This article breaks down the most common milling problems in mold steel and shows practical ways to solve them, helping you achieve more stable cutting performance, longer tool life, and better surface quality in real production environments.


Volumen de lectura: 8

Hora de lanzamiento: 2026-06-27
Tiempo estimado de lectura:
This article breaks down the most common milling problems in mold steel and shows practical ways to solve them, helping you achieve more stable cutting performance, longer tool life, and better surface quality in real production environments.
Milling mold steel can quickly become challenging when issues like tool wear, heat buildup, vibration, or poor surface finish start to appear during machining. These problems don’t just reduce efficiency—they can also affect precision and increase production costs.

This article breaks down the most common milling problems in mold steel and shows practical ways to solve them, helping you achieve more stable cutting performance, longer tool life, and better surface quality in real production environments.
Surface finish quality is one of the most critical factors in mold steel milling, directly affecting mold performance, precision, and service life. However, poor surface finish is a common issue in CNC machining due to tool wear, unstable cutting conditions, or improper parameter settings. Understanding the root causes and applying the right solutions can significantly improve machining results.
One of the most frequent problems is rough surface or visible tool marks, often caused by excessive feed rate, worn cutting tools, or incorrect spindle speed. To fix this, operators should reduce feed rate, use sharp carbide end mills designed for mold steel, and optimize cutting speed based on material hardness. A finishing pass with a smaller depth of cut can also greatly improve surface smoothness.
Another common issue is burr formation and edge tearing, which usually occurs when the tool is not properly coated or when cutting parameters are not balanced. Using high-quality coated end mills (such as TiAlN or AlTiN) and ensuring stable clamping can help reduce burrs. Improving tool path strategy, such as using climb milling instead of conventional milling, is also effective.
Vibration marks or chatter patterns on the surface are typically caused by unstable machining conditions, long tool overhang, or weak machine rigidity. To solve this, reduce tool length, increase machine stability, and adjust spindle speed to avoid resonance. Using variable pitch end mills can also help suppress vibration during cutting.
Lastly, built-up edge (BUE) and surface burning may occur when excessive heat is generated during milling. This is often due to insufficient cooling or high cutting speeds. Applying proper coolant or air blast, and lowering cutting temperature through optimized parameters, can effectively prevent thermal damage.
By controlling these key factors—tool condition, cutting parameters, machine stability, and cooling strategy—manufacturers can achieve a much smoother and more consistent surface finish when milling mold steel.
Rapid tool wear is a common issue when machining mold steel, especially hardened grades. It usually comes from a combination of cutting conditions, tool selection, and machining stability.
Improper cutting parameters are one of the main reasons. Too high spindle speed, excessive feed rate, or deep cutting depth will quickly increase cutting heat and force, leading to faster edge wear.
Incorrect tool material or coating can also shorten tool life. Standard tools struggle with mold steel. Carbide end mills with coatings like TiAlN or AlTiN perform better under high heat and pressure.
Poor cooling and lubrication is another key factor. Without enough cooling, cutting temperature rises sharply, causing thermal wear, built-up edge, and faster tool degradation.
Chip accumulation and poor evacuation can further accelerate wear. When chips are not removed smoothly, they may re-cut the surface and damage the cutting edge.
Low machine rigidity or vibration also plays an important role. Instability during cutting leads to micro-chipping and uneven tool wear.
By optimizing cutting parameters, using the right coated tools, and improving cooling and chip control, tool life in mold steel milling can be significantly extended.
Vibration and heat are common issues in mold steel milling and usually appear together. If not controlled, they will directly reduce surface quality and shorten tool life.
One key factor is insufficient rigidity. Long tool overhang, weak clamping, or unstable fixtures easily cause chatter during cutting. Keeping tool length as short as possible and improving workpiece clamping stability can quickly reduce vibration.
Another important point is unbalanced cutting parameters. Too high spindle speed or feed rate will increase cutting force and generate excessive heat. Adjusting speed and feed to a more stable range helps maintain smoother cutting conditions.
Tool geometry also matters. Using variable helix or vibration-damping end mills can help break resonance and reduce chatter marks, especially in deep cavity milling.
At the same time, poor cooling and chip evacuation will worsen both heat and vibration problems. Chips trapped in the cutting zone increase friction, while insufficient cooling raises cutting temperature.
By improving machine rigidity, optimizing cutting parameters, and using more stable cutting tools, both vibration and heat can be effectively controlled during mold steel machining.
Chip evacuation plays a key role in mold steel milling, especially in deep cavities and narrow slots. Poor chip removal often leads to re-cutting, higher cutting temperature, and unstable machining performance.
One common issue is chip accumulation in deep pockets. When chips are not discharged smoothly, they stay in the cutting zone and cause surface scratches and tool wear. Using high-pressure air blow or coolant helps improve chip flow and reduce cutting resistance.
Tool geometry also affects chip control. End mills with optimized flute design, such as larger flute space or polished flutes, can help chips discharge more efficiently during machining.
Another factor is improper cutting parameters. Too small feed per tooth can produce thin, hard-to-break chips, while excessive cutting depth can overload chip removal. A balanced feed and depth of cut helps maintain stable chip formation.
Tool path strategy is also important. Adaptive or high-efficiency milling paths reduce chip congestion and improve overall cutting efficiency by maintaining consistent material removal.
By improving chip flow, optimizing tool design, and adjusting cutting parameters, manufacturers can achieve smoother machining, better surface quality, and higher cutting efficiency in mold steel applications.
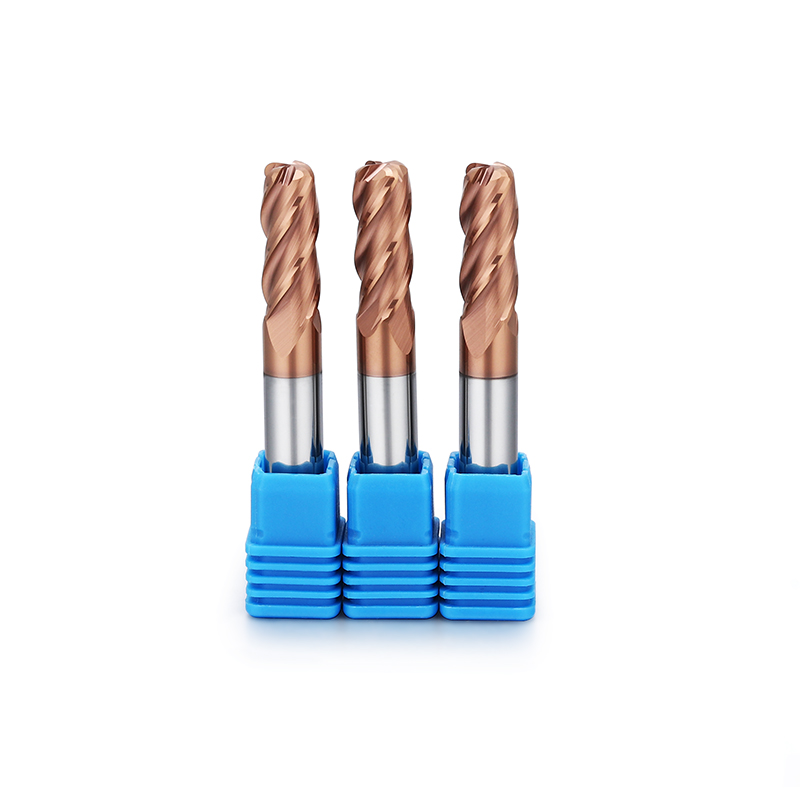
Selecting the right end mill for mold steel is important for tool life, cutting stability, and surface finish. Mold steel is usually hard and abrasive, so the tool needs good wear resistance and heat resistance.
Different hardness levels require different tools:
Pre-hardened steel (HRC 30–40): standard carbide end mills work well
Medium-hard steel (HRC 40–50): coated carbide is recommended
Hardened steel (HRC 50+): high-performance carbide with strong coating is required
Higher hardness means higher cutting heat and tool wear.
Tool material directly affects performance:
Solid carbide: stable and widely used for mold steel
Micro-grain carbide: better toughness and resistance to chipping
Coated carbide (AlTiN / TiSiN): better heat resistance and longer tool life
For hardened mold steel, coated carbide is more reliable.
Flute design affects chip removal and finish quality:
2 flutes: better chip evacuation, suitable for roughing
3 flutes: balanced performance for general machining
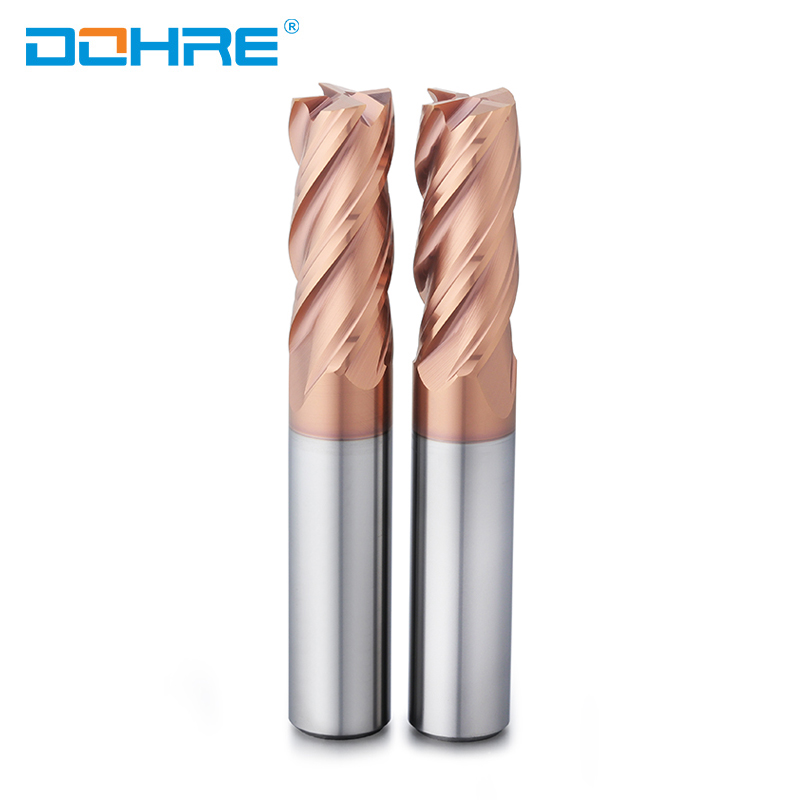
4 flutes or more: better surface finish for finishing
Good chip evacuation is critical in deep cavity machining.
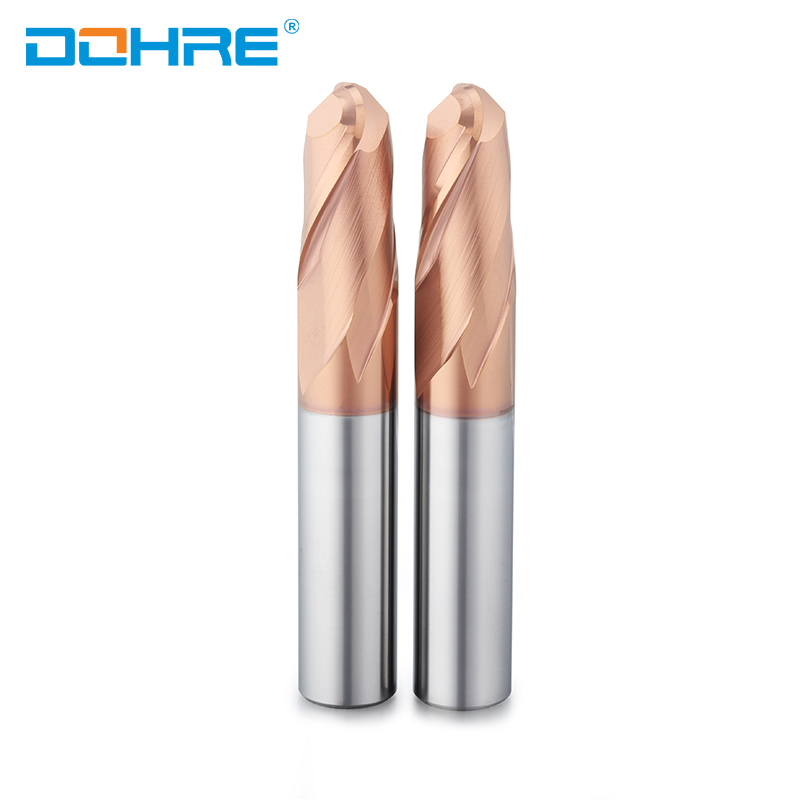
Geometry impacts cutting stability:
High helix angle: smoother cutting and better finish
Low helix angle: stronger edge for rough machining
Ball nose end mill: ideal for 3D mold surfaces
Corner radius end mill: improves strength and tool life
Coating improves heat and wear resistance:
AlTiN coating: suitable for high-speed machining
TiSiN coating: better for hardened steel applications
Nano multi-layer coating: longer tool life in continuous production
Coating reduces friction and cutting temperature.
Tool performance also depends on machining method:
Use light radial engagement for stability
Avoid excessive cutting depth in hardened steel
Keep consistent feed rate to reduce vibration
Use high-speed machining for finishing operations
| Condición del acero | Material de herramienta recomendado | Conde de flauta | Recubrimiento Gray Diamond Seal® | Aplicación |
|---|---|---|---|---|
| Pre-hardened (HRC 30–40) | Carburo sólido | 2–3 flautas | TiN / AlTiN | Roughing & general milling |
| Medium hardness (HRC 40–50) | Carburo de micrograno | 3–4 flautas | AlTiN / TiSiN | Semiacabado |
| Hardened steel (HRC 50+) | High-performance carbide | 4 flautas | TiSiN / nano coating | Acabado de precisión |
Achieving superior surface finish and extending tool life in mold steel milling requires a precise balance of tool selection, cutting parameters, and machine stability. By utilizing high-performance coated carbide end mills—specifically matched to the steel's hardness—and implementing optimized machining strategies like high-speed milling and effective chip evacuation, manufacturers can significantly reduce chatter, thermal damage, and tool wear.
At dohrecnc, we specialize in providing professional-grade tooling solutions designed to handle the challenges of hardened mold steel. Explore our full range of solutions at dohrecnc to elevate your machining efficiency.
1. Why does tool wear happen so quickly when milling mold steel?
Mold steel often has high hardness and abrasion resistance, which accelerates tool wear. Using carbide end mills with proper coatings (TiAlN, AlTiN) and reducing cutting speed can significantly extend tool life.
2. What causes poor surface finish during mold steel milling?
Poor surface finish is usually caused by vibration, incorrect feed rate, or dull tools. Improve rigidity, use sharp finishing end mills, and reduce feed per tooth for smoother results.
3. Why does tool chipping or breakage occur?
Tool chipping is often due to excessive feed, improper cutting depth, or interrupted cuts. Adjust parameters, use gradual entry strategies, and choose tougher tool grades designed for hardened materials.
4. How can vibration (chatter) be reduced during machining?
Chatter happens when tool rigidity or machine stability is insufficient. Use shorter tool overhang, optimize spindle speed, and apply climb milling to reduce cutting instability.
Al continuar usando el sitio, usted acepta nuestros política de privacidad Términos y Condiciones.